Follow Me On Social Media!

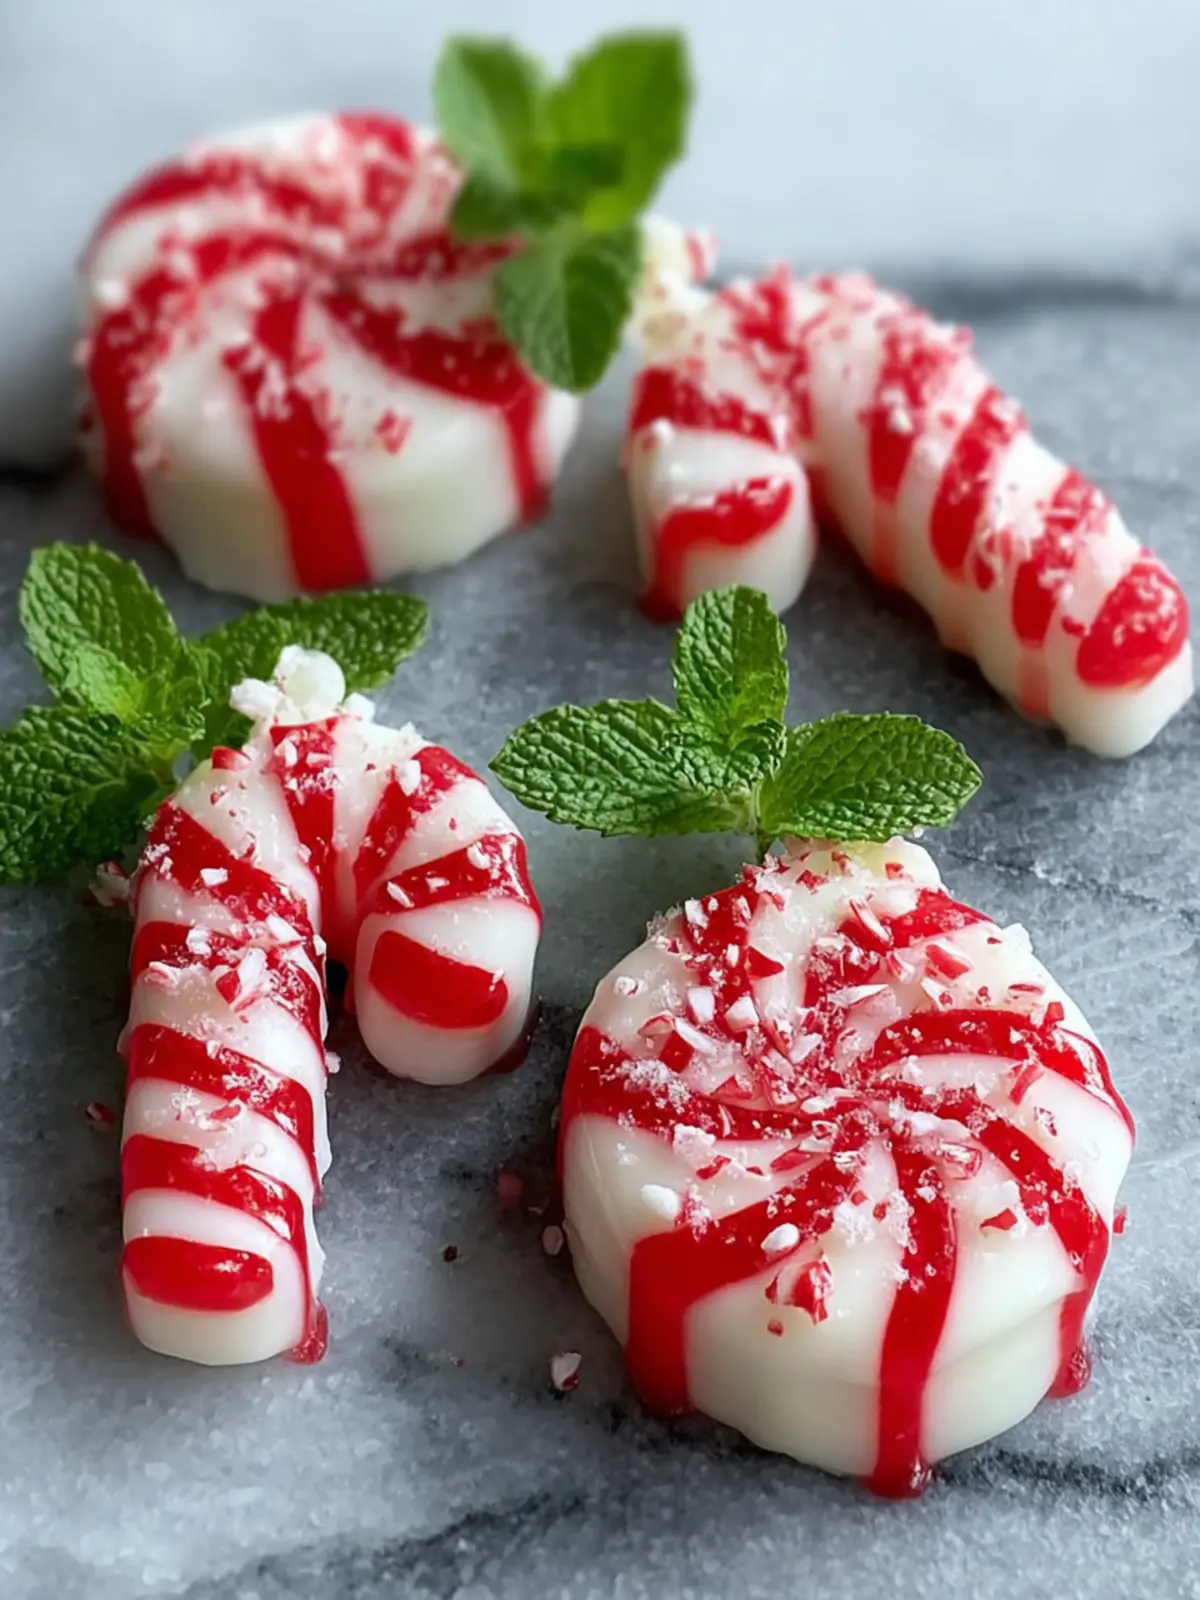
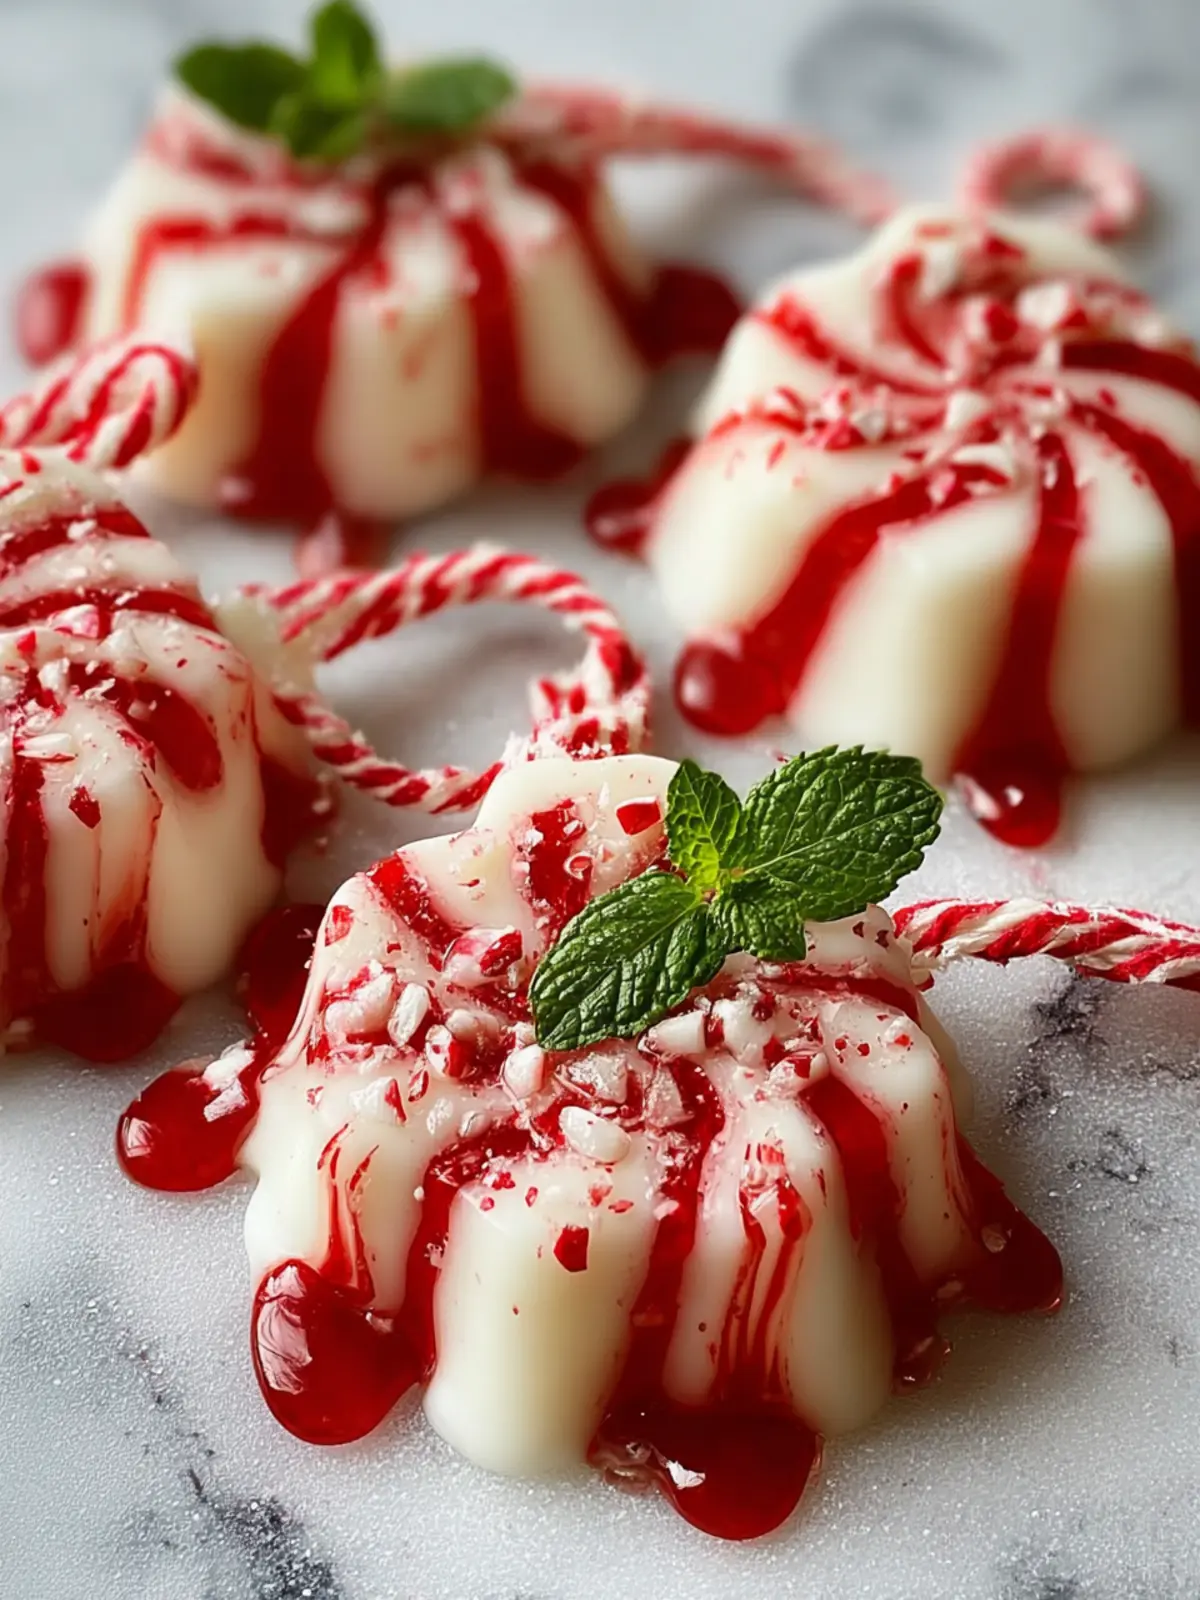
Melted Peppermint Candy Ornaments: Sweet Holiday Fun for Kids
Introduction to Melted Peppermint Candy Ornaments: Fun Holiday Craft for Kids
Creating melted peppermint candy ornaments is more than just a delightful craft; it’s an enchanting way to bring the magic of the holiday season into your home. Whether you’re a crafty parent, a teacher looking for an engaging classroom activity, or someone who simply loves festive decorations, this project is an excellent opportunity to share a joyful experience with kids. As the sweet aroma of melting peppermint fills the air, the excitement in the room becomes palpable, sparking creativity and laughter.
What makes these ornaments a holiday favorite?
The charm of melted peppermint candy ornaments lies in their simplicity and versatility. With just a handful of ingredients and a little bit of time, you can create stunning decorations that are not only visually appealing but also evoke the warmth of nostalgia. These ornaments are perfect for hanging on the Christmas tree or adorning gift packages, making them a multifaceted addition to your holiday celebrations.
Kids love the sensory experience of working with candy—watching it melt, helping to shape it, and ultimately seeing the finished product is incredibly exciting for young hands and minds. This process sparks curiosity and encourages teamwork, as children collaborate with friends or family to create their masterpieces. Plus, the festive spirit imbued in this craft fosters a sense of connection and joy—a precious reminder of togetherness during the holidays.
Beyond aesthetics, melted peppermint candy ornaments open up a conversation about creativity and the art of making. You can easily customize these ornaments with different shapes, colors, or designs, allowing kids to express their unique personalities. The best part? The delicious peppermint flavor adds a special touch, making it hard for anyone to resist the allure of these charming creations.
Embarking on this crafty adventure is sure to become one of your family’s cherished holiday traditions, creating sweet memories that will last a lifetime. So grab your supplies and let’s dive into the fun of making these festive ornaments!
Key Ingredients for Melted Peppermint Candy Ornaments
Creating melted peppermint candy ornaments can transform your holiday decor into a whimsical wonderland. To get started, gather these essential ingredients that will lend your ornaments both taste and charm.
Peppermint Candies: A classic choice for these ornaments, peppermint candies bring a crisp, refreshing flavor and vibrant colors to your creations. I love using crushed candy canes or small peppermint discs, as they melt beautifully and add a festive touch.
Cookie Cutters: Opt for a variety of shapes that reflect the holiday spirit—think stars, trees, or bells. These not only give your ornaments personality but also allow kids to engage during the crafting process. Plus, who doesn’t love a cute gingerbread cookie shape hanging on the tree?
Parchment Paper: This is a must-have for crafting your melted peppermint candy ornaments. Lining your baking tray with parchment paper prevents the melted candies from sticking, making for an easier clean-up and perfect ornament release.
Ribbon: Don’t forget the finishing touch! Choose colorful ribbons to tie your ornaments. They add a delightful flair, making your creations ready to hang and showcase on your tree.
Gather these ingredients, and you’re sure to create memories and beautiful decorations for the season!
Why You’ll Love This Recipe
Creating melted peppermint candy ornaments is not just a fun way to get crafty; it’s an opportunity to create enduring holiday memories. Picture this: your little ones gathered around the kitchen table, eyes sparkling as they watch the vibrant peppermint discs transform into beautiful, shiny decorations. There’s something magical about bringing the warmth of the holidays into your home while making personalized ornaments that will be cherished for years to come.
The best part? This recipe is both simple and engaging, making it perfect for kids and adults alike! Here’s why you’ll adore it:
-
Easy and Fun: With just a few ingredients, this activity is as easy as it gets. Kids can help arrange the candies on a baking sheet, fostering creativity and giving them a sense of ownership over their festive creations.
-
Deliciously Festive: The sweet, peppermint aroma wafting through your home will have everyone in the holiday spirit. Plus, they make delightful treats that can double as gifts or decorations on your tree!
-
Craft and Snack Combo: What’s better than a craft you can also munch on? Once your ornaments cool and harden, they’re ready to be enjoyed or gifted, adding even more joy to the holiday season.
Engaging in this festive treat definitely strengthens those family bonds while making your holiday season a bit brighter!
Variations of Peppermint Candy Ornaments
Melted peppermint candy ornaments offer a delightful twist on your typical holiday crafts, letting your creativity shine while filling your home with a sweet aroma. Adding your personal touch makes this craft even more enjoyable, and there are several fun variations to explore.
-
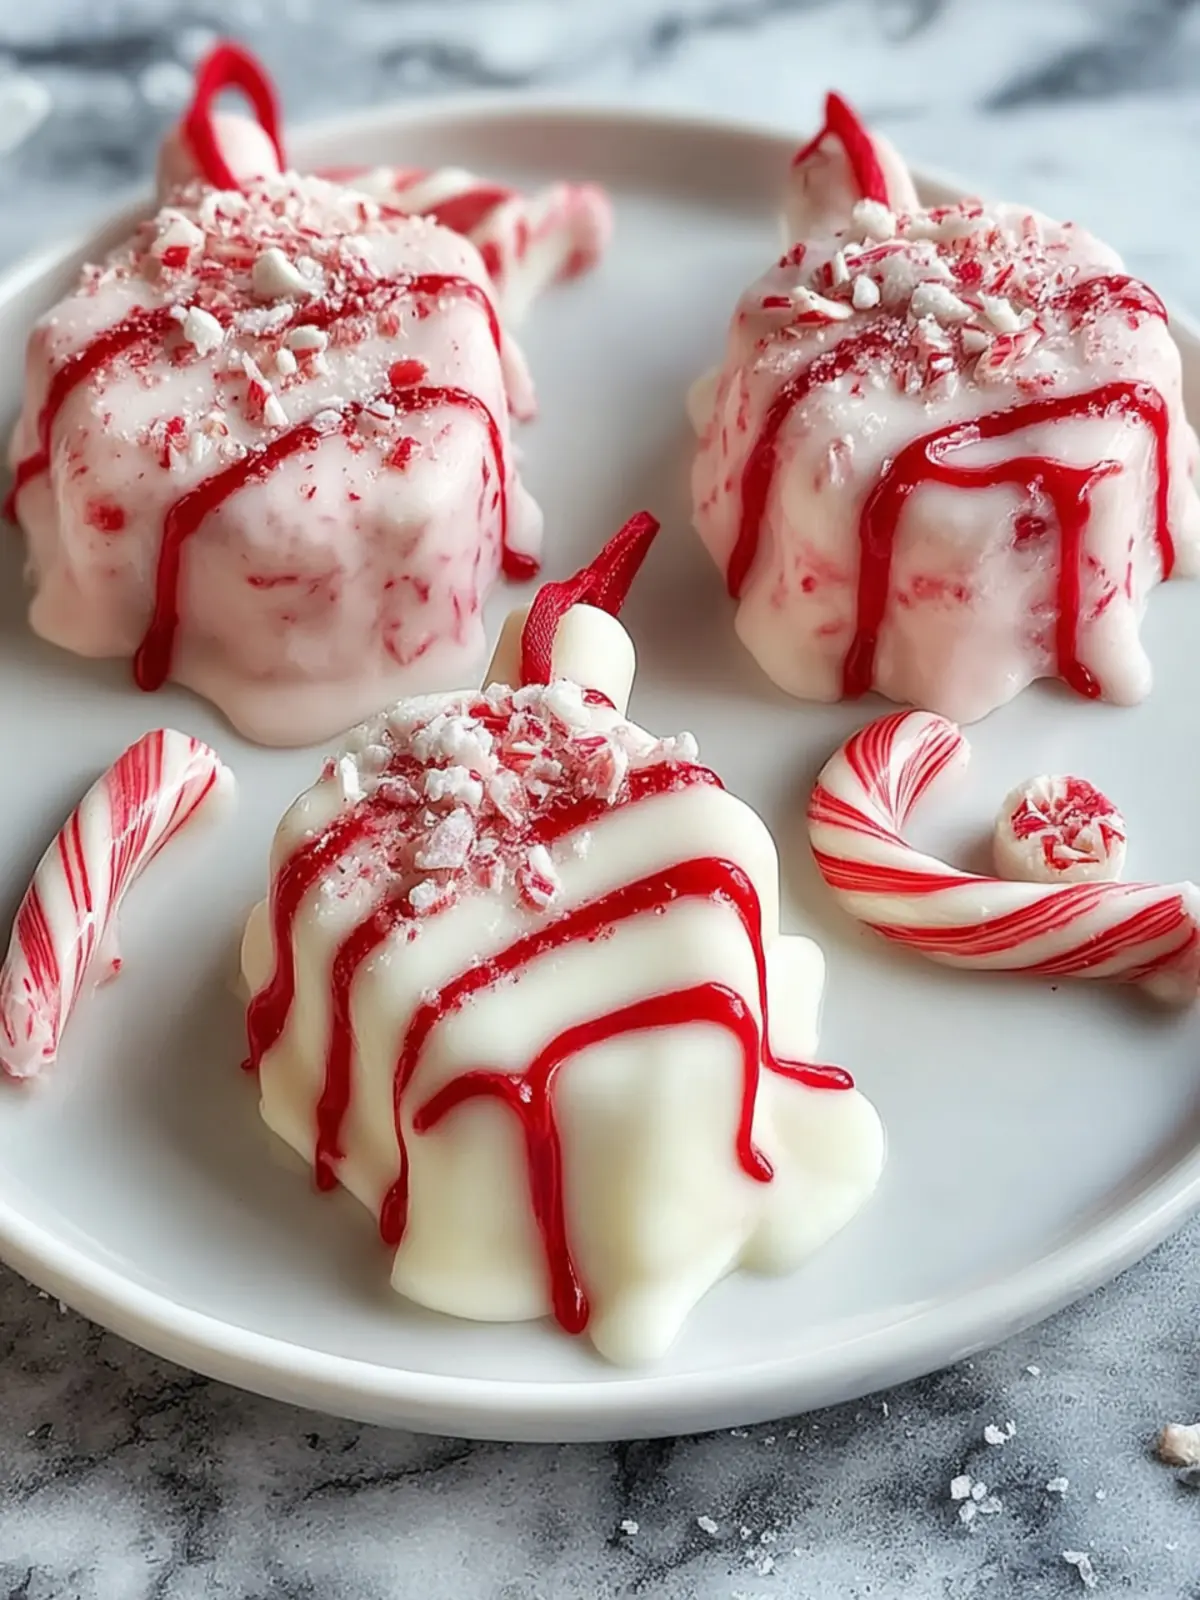
Colorful Swirls: Instead of using all white candy canes, consider mixing in red and green peppermint candies. This not only adds a festive pop of color but also creates beautiful marbled swirls in your ornaments.
-
Shaped Molds: While traditional round ornaments are lovely, try using cookie cutters to create fun shapes like stars, hearts, or even holiday-themed designs. This makes them perfect for gift tags or tree decorations.
-
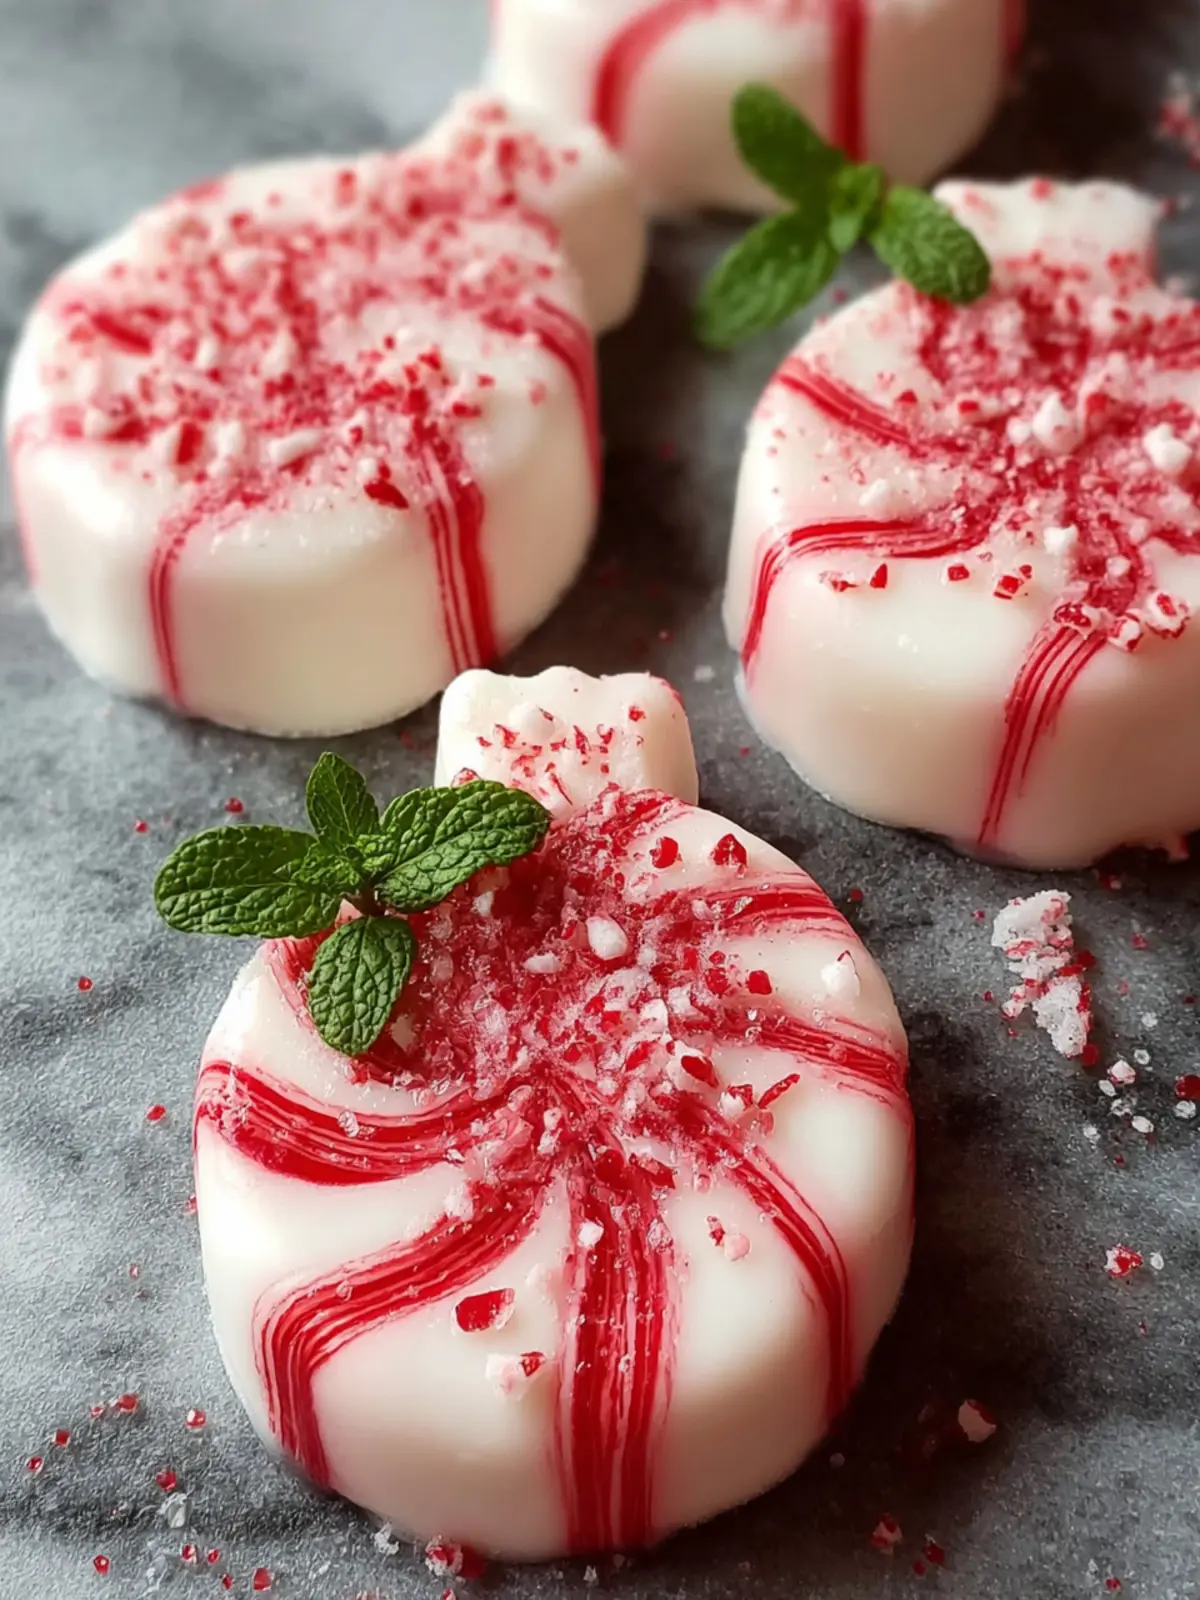
Glitter Finish: Before your melted peppermint candy ornaments cool completely, sprinkle edible glitter or colored sugar on top. This adds a magical sparkle that catches the light beautifully.
-
Scented Variants: For a delicious aromatic experience, consider mixing in a few drops of peppermint extract before melting the candies. This intensifies the minty flavor, making your ornaments smell as good as they look.
Experimenting with these variations can turn a simple craft into cherished holiday keepsakes!
Cooking Tips and Notes for Best Results
Creating melted peppermint candy ornaments can be an enjoyable festive tradition, especially when you have some handy tips to ensure your creations turn out perfectly. Here are some valuable insights to elevate your crafting experience:
Choosing the Right Peppermint Candies
- Stick with high-quality peppermint candies, as they melt more evenly. Brands that are labeled as hard candy work best for achieving that delightful ornament look.
Oven Temperature Matters
- Preheating your oven is essential. A consistent temperature of around 350°F will help the candies melt uniformly without overcooking. Use an oven thermometer to be sure, as even a small temperature variation can impact the outcome.
Using Parchment Paper
- Line your baking sheets with parchment paper. Not only does this prevent sticking, but it also makes for easy cleanup after the candy has cooled.
Keep an Eye on Melting Time
- Watch the candies closely as they melt. It usually takes about 5-10 minutes, depending on your oven. Remove them as soon as they become liquid; you want to avoid burning.
Decorating and Shaping
- You can use cookie cutters to shape the melted candy. Just be cautious, as the candy will be hot! Silicone molds are also great for creating fun designs without the risk of sticking.
These tips should enhance your experience making melted peppermint candy ornaments, allowing for creativity and fun while crafting with kids. Happy decorating!
Serving Suggestions for Ornament Crafting
Creating melted peppermint candy ornaments is more than just a fun holiday craft; it can be an opportunity for families to bond over creativity and holiday cheer. As you gather your materials and dive into crafting with your kids, consider how to best showcase these delightful ornaments once they’re complete.
Display Ideas
-
Holiday Tree Decor: Once your melted peppermint candy ornaments have cooled and hardened, hang them beautifully on your Christmas tree. Their shimmering colors will add a festive touch that captures the light.
-
Gift Toppers: Use these ornaments as unique gift toppers. Imagine the joy on someone’s face when they receive a present adorned with a handmade ornament!
-
Festive Wreaths: Incorporate your ornaments into a homemade holiday wreath. Adorn a simple greenery wreath with a few of your favorite melted peppermint candy ornaments for a sweet pop of color.
-
Table Centerpiece: Create a charming centerpiece by placing these ornaments in a bowl or glass container along with other seasonal decorations.
Engaging in this holiday project not only produces gorgeous decorations but also creates beloved memories that will last far beyond the season!
Time Breakdown for Crafting
Creating melted peppermint candy ornaments is a delightful way to channel your creativity during the holiday season. Here’s how the time breaks down for this festive activity:
Preparation Time
Getting everything ready for your melted peppermint candy ornaments takes about 10-15 minutes. Gather your candy canes, baking sheets, and any cookie cutters you want to use.
Baking Time
Once prepared, the baking time is a quick 10-15 minutes. You’ll want to keep an eye on them to ensure they melt just right without burning.
Total Time
All in all, you’re looking at approximately 25-30 minutes to make these charming ornaments. This makes it a perfect activity to share with kids, allowing for some festive fun without taking up the entire day.
Nutritional Facts for Melted Peppermint Candy Ornaments
Crafting melted peppermint candy ornaments is not just a delightful activity; it’s also an opportunity to bring some sweet treats into your holiday celebrations. If you’re curious about what goes into these festive creations, here’s a closer look at their nutritional content.
Calories
Each ornament typically contains around 50 calories. While it may seem light, keep in mind that these festive candies can add up!
Sugar
These melted peppermint candy ornaments are sugary delights, with each ornament packing about 10 grams of sugar. It’s an indulgent treat, perfect for a special occasion or holiday celebration.
Dietary Restrictions
For those mindful of dietary restrictions, these ornaments are naturally gluten-free since they’re made primarily from peppermint candies. However, be cautious if you’re prone to sugar-related dietary restrictions or allergies.
Enjoy your crafting and treat yourself responsibly during this festive season!
FAQs about Melted Peppermint Candy Ornaments
Creating melted peppermint candy ornaments is not just a delightful holiday activity, it’s a way to forge lasting memories with loved ones. However, you might have a few pressing questions. Let’s dive into some common queries!
How do I safely melt the candies?
Melting candies can be a fun yet tricky process. To ensure safety and get the best results:
- Use the Oven: Preheat your oven to around 350°F (175°C). Spread the candies on a parchment-lined baking sheet and watch them closely; they only need about 5-8 minutes to melt.
- Microwave Method: If you prefer the microwave, place the candies in a microwave-safe bowl. Heat for 30 seconds at a time, stirring in between until melted. This method allows better control and minimizes burning.
Always supervise children while melting candies to prevent any mishaps.
Can I use different flavors of candies?
Absolutely! While peppermint is classic, feel free to mix it up. Consider using:
- Wintergreen: Adds a unique twist.
- Cinnamon: Perfect for a little spice.
- Fruit-flavored: Bright colors like cherry or lemon can provide a festive touch. Just remember that flavors may alter the aesthetic when melted.
What should I do with leftover ornaments?
Leftover melted peppermint candy ornaments can be a delightful addition to your holiday decor or treats:
- Decorate Desserts: Crumble them over cakes or ice cream for extra flair.
- Gift Favors: Place them in bags with festive ribbons for sweet holiday presents.
- Holiday Decorations: Use them as unique ornaments on your tree or festive centerpieces.
Getting creative with leftovers can extend the holiday joy and make each treat a bit more special!
Conclusion on Melted Peppermint Candy Ornaments
The joy of creating melted peppermint candy ornaments goes beyond crafting; it’s about the memories and laughter you share with loved ones during the festive season. As you gather around the oven, the sweet aroma of melted peppermint mingles with holiday cheer, making each ornament a colorful reminder of fun-filled moments. Once they cool, hang them on your tree or gift them to neighbors for a personal touch that says you care. These delightful ornaments are not just decorations, but cherished memories that will bring smiles for years to come. So, gather your supplies and dive into this magical holiday craft!
Print
Peppermint Candy Ornaments
- Total Time: 20 minutes
- Yield: Varies
- Diet: Vegetarian
Description
Delightful peppermint candy ornaments perfect for the holiday season.
Ingredients
Scale
- 1 bag Peppermint Candies (Use red or traditional peppermint colors for best flavors.)
- 1 Cookie Cutter (Select holiday shapes like Christmas trees or stars.)
- 1 sheet Parchment Paper (Line your baking sheet to prevent sticking.)
- 1 yard Ribbon (Choose a complementary color for a finished look.)
Instructions
- Prepare Baking Sheet: Start by lining your baking sheet with parchment paper or a silicone baking mat.
- Arrange Candies: Place peppermint candies inside your chosen cookie cutters, arranging them in a single layer.
- Bake: Preheat your oven to 350°F. Bake the candies for 5-10 minutes, watching closely.
- Create Hole: Let the ornaments cool for 2 minutes, then poke a hole at the top with a toothpick.
- Remove from Cutters: Cool for about 5 minutes, then carefully remove each ornament from the cutter.
- Finish: Thread a ribbon through the hole to prepare for hanging.
Notes
- These ornaments make great gifts and decorations.
- Prep Time: 10 minutes
- Cook Time: 10 minutes
- Category: Desserts
- Method: Baking
- Cuisine: American
Nutrition
- Serving Size: 1 ornament
- Calories: 50
- Sugar: 10g
- Sodium: 1mg
- Fat: 0g
- Saturated Fat: 0g
- Unsaturated Fat: 0g
- Trans Fat: 0g
- Carbohydrates: 13g
- Fiber: 0g
- Protein: 0g
- Cholesterol: 0mg