Follow Me On Social Media!

Chocolate-Covered Ice Cream Bars: Indulgent Homemade Bliss
Introduction to Chocolate-Covered Ice Cream Bars
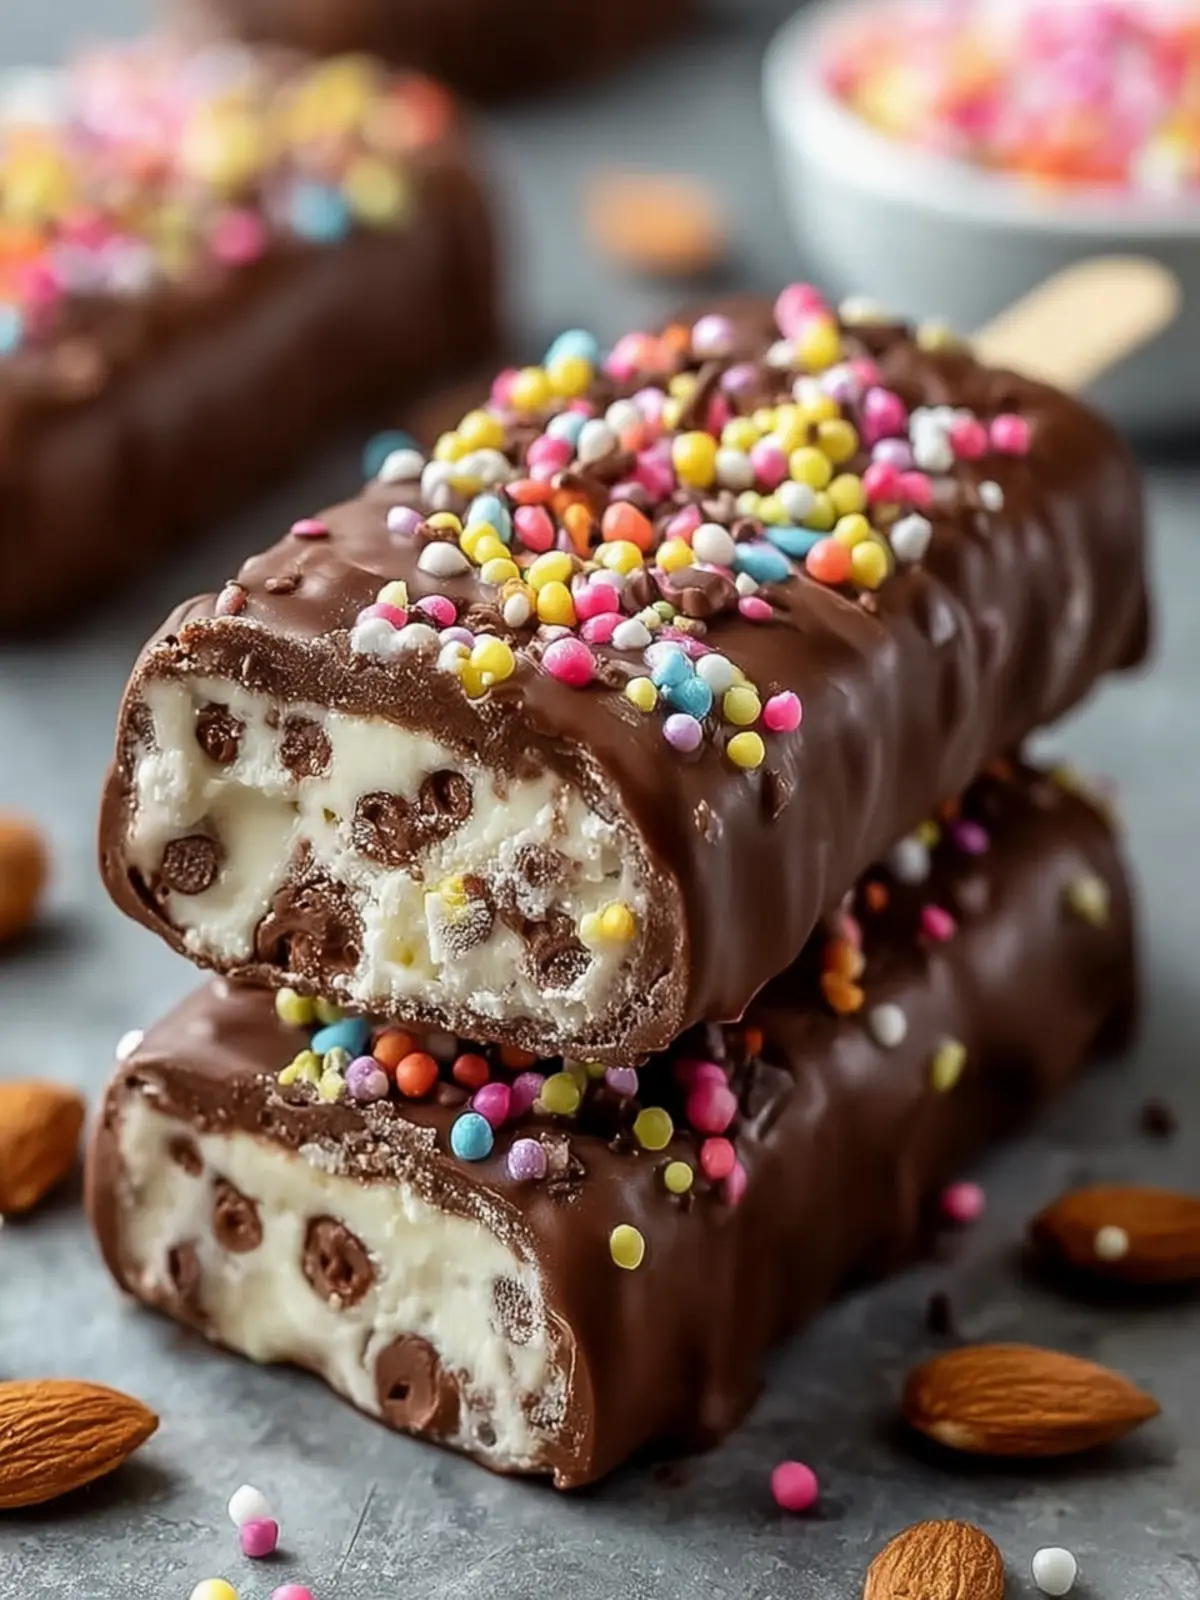
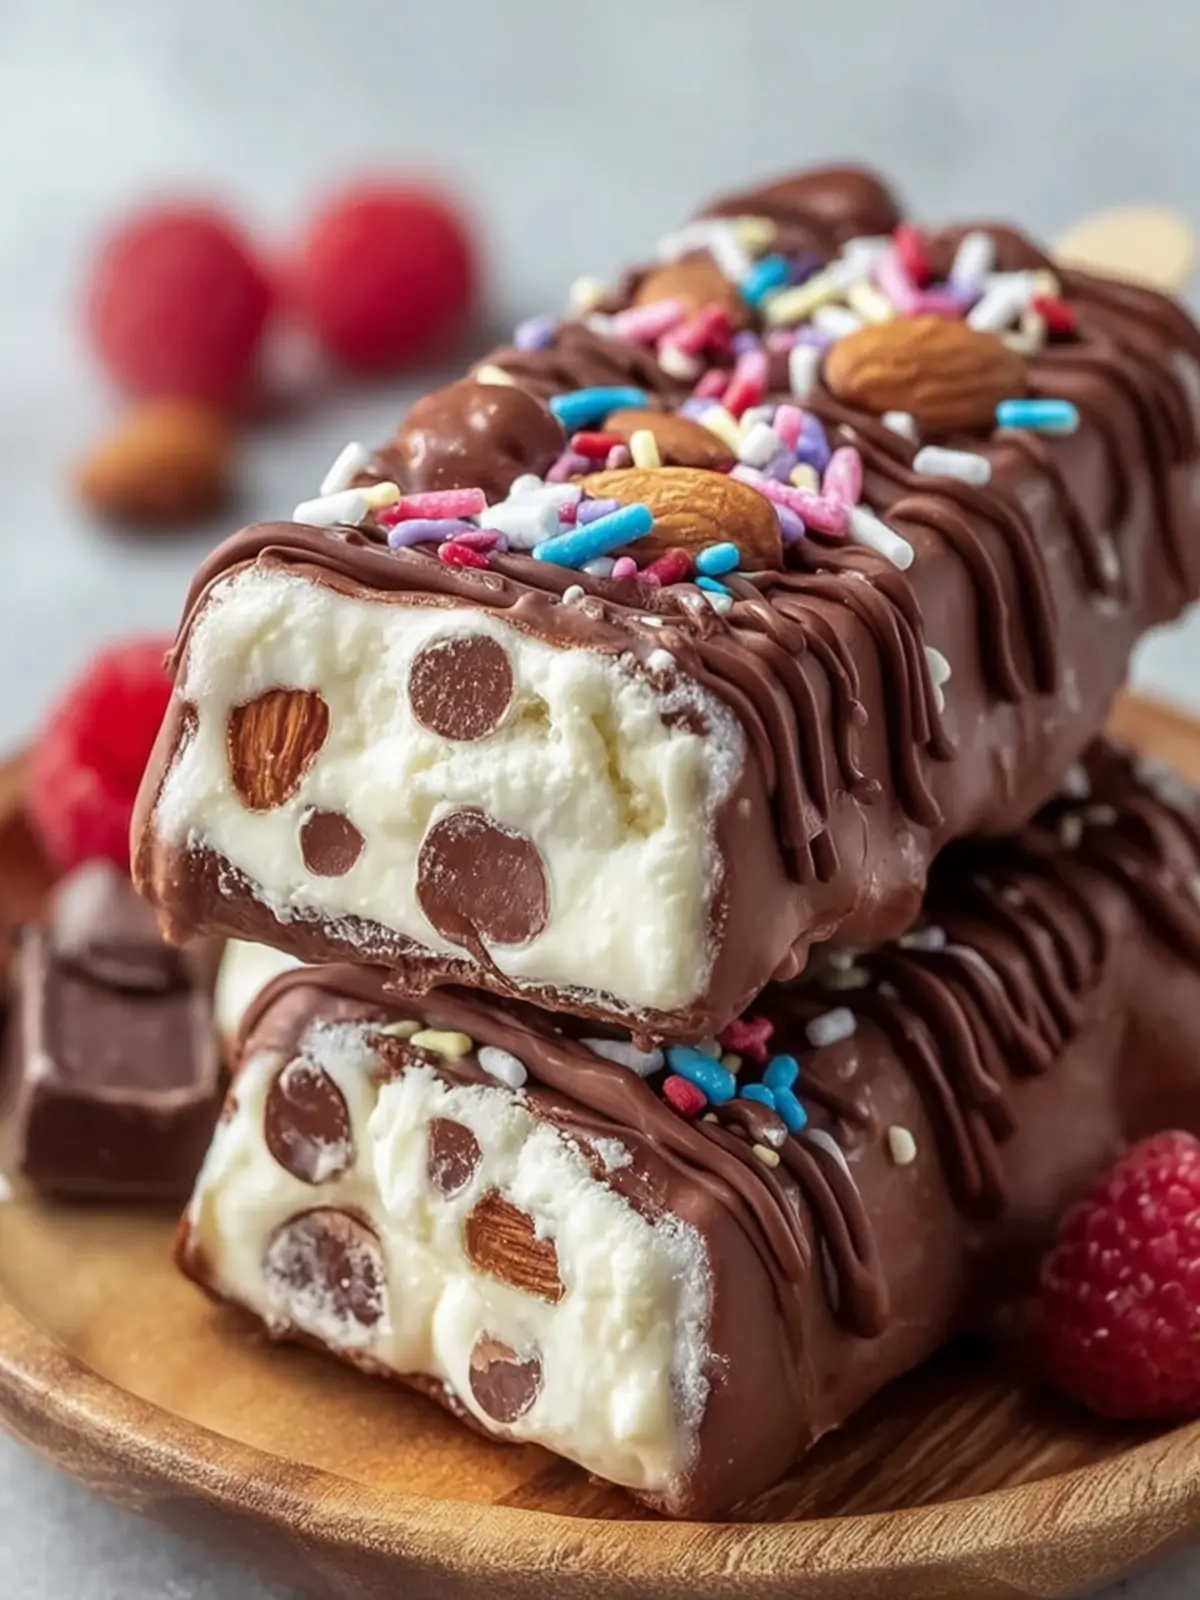
Picture a hot summer day, the sun beaming down, and all you crave is a cool treat to beat the heat. Enter chocolate-covered ice cream bars, your new go-to dessert. These delightful creations are a perfect marriage of creamy ice cream encased in a rich chocolate shell, making them not only visually appealing but downright irresistible. With just a few simple steps, you can craft something that’s not only reminiscent of your favorite ice cream truck treats but also customizable to suit your taste buds!
Why settle for store-bought when you can whip up an impressive batch of these frozen delights at home? It’s all about making memories. Whether you’re hosting a summer gathering, enjoying a night in, or looking to impress a date, these chocolate-covered ice cream bars tick all the boxes. You can play around with flavors, from classic vanilla to adventurous fruits or unique combinations that reflect your personality. Plus, nothing quite beats the satisfaction of biting into a frozen bar, the chocolate cracking to reveal creamy ice cream inside, all while making delightful messes that bring smiles and laughter.
Why This Recipe Will Be a Game Changer for Your Summer Dessert Lineup
Let’s face it — summer desserts should be easy, fun, and filled with joy. This recipe embodies all of that while also allowing for creativity.
- Customizable Flavors: Use your favorite ice cream flavor!
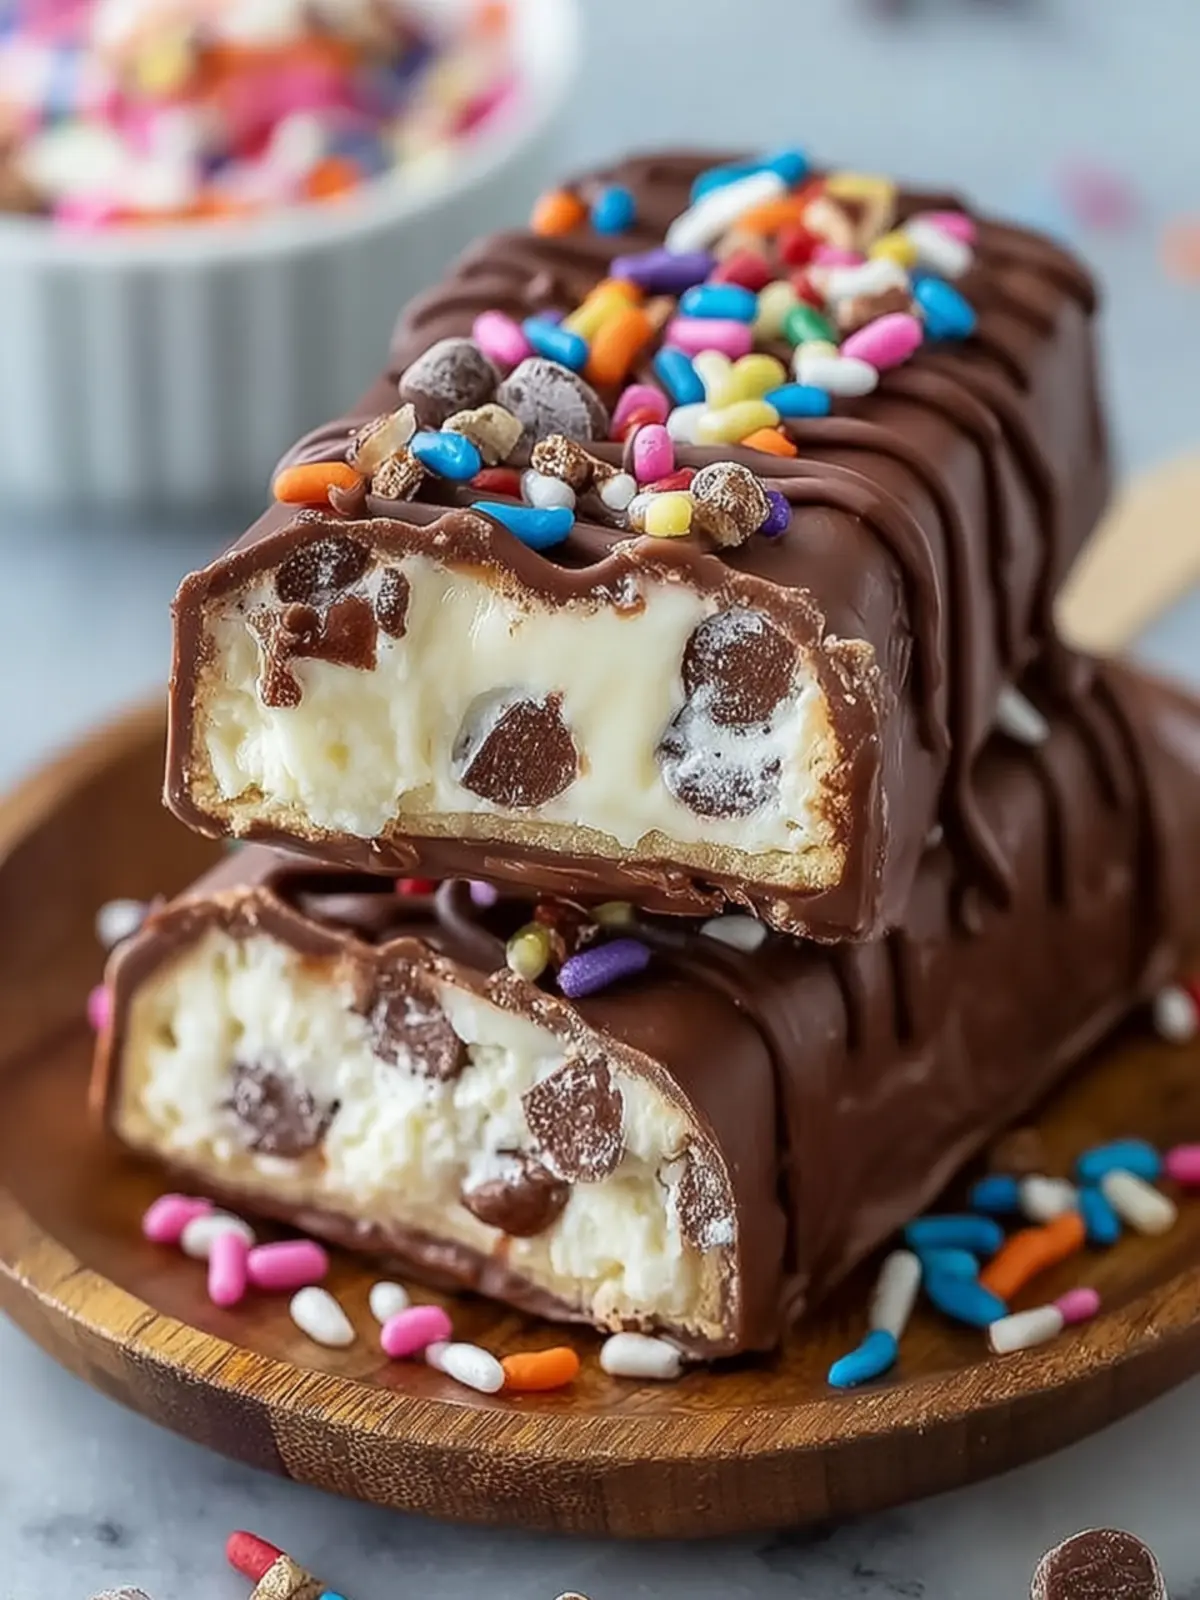
- Decorative Touch: Get creative with toppings like nuts, sprinkles, or coconut flakes.
- Quick to Make: A fantastic treat that doesn’t require hours in the kitchen.
And can you believe that you only need a handful of ingredients? You can make several batches for summer picnics or family get-togethers, ensuring everyone enjoys a chilled delight. The best part? These chocolate-covered ice cream bars are just as delicious homemade as any you’d find in a fancy dessert shop, but with the added bonus of being made by you! So, roll up your sleeves, gather your ingredients, and let’s dive into this fun summer activity that will elevate your dessert game to a whole new level.
Key Ingredients for Homemade Chocolate-Covered Ice Cream Bars
Creating chocolate-covered ice cream bars at home is a delightful experience, and choosing the right ingredients elevates this treat from ordinary to extraordinary.
Vanilla Ice Cream
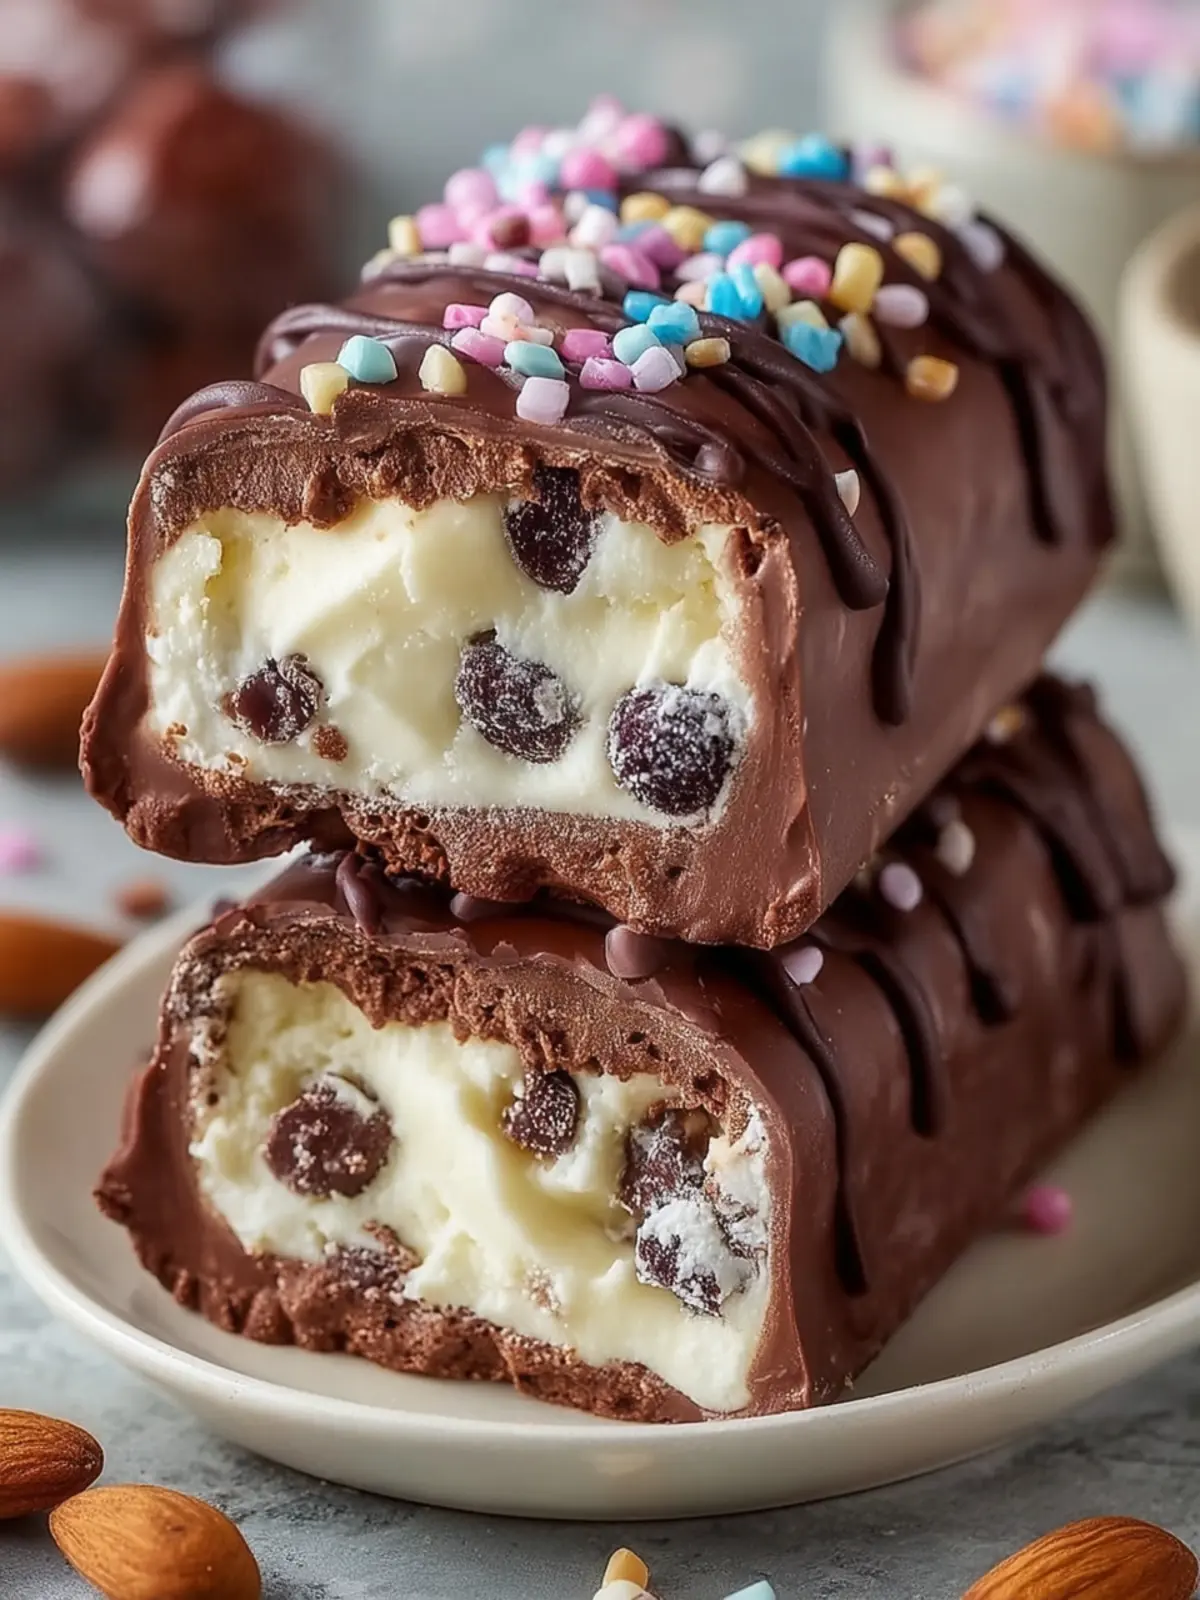
A creamy base is essential for achieving that classic ice cream texture. For my bars, I opt for high-quality vanilla ice cream because it enhances the flavor profile. The richness of the ice cream combined with the chocolate coating makes every bite irresistible.
Chocolate Chips
When it comes to chocolate, both dark and milk chocolate chips work great. Personally, I gravitate toward dark chocolate for its rich, robust flavor that beautifully contrasts the sweetness of the ice cream. The chocolate’s deep tones truly elevate the overall indulgence.
Coconut Oil or Butter
To achieve that silky smoothness in the chocolate coating, I add coconut oil, but butter is a wonderful alternative if coconut isn’t your thing. This ingredient is key for a luscious coating that glides over the ice cream bars.
Optional Mix-Ins
Why not add a personal touch? Adding nuts, sprinkles, or your favorite toppings allows for customization and adds a delightful crunch that makes these bars even more enjoyable. Feel free to get creative and mix in what you love!
Why You’ll Love This Recipe
Indulging in homemade chocolate-covered ice cream bars is like taking a bite of nostalgia, a sweet reminder of carefree summers back in the day. The beauty of this recipe lies not only in its delightful flavors but also in the personal touch you bring to it. Each bar is customizable, allowing you to experiment with your favorite toppings or ice cream flavors, bringing creativity and fun to the kitchen.
Simple Ingredients Make a Big Difference
-
Ice Cream: Using your favorite flavor sets the tone for these bars. Whether you prefer classic vanilla, rich chocolate, or a fruity sorbet, the world is your oyster. The creaminess is what makes every bite a delightful experience.
-
Chocolate Coating: A good quality dark or milk chocolate melts beautifully, creating that luscious outer layer that hardens to a satisfying crunch. It plays perfectly with the creaminess of the ice cream, giving you a satisfying contrast in textures.
-
Toppings: Think sprinkles, chopped nuts, or even shredded coconut! These little additions not only add flavor but also make your chocolate-covered ice cream bars visually appealing, elevating them from a simple dessert to a showstopper treat.
In short, making these treats at home is not just about the flavors; it’s about crafting joyful moments, whether you’re sharing with friends at a summer barbecue or enjoying a sweet snack during a cozy night in.
Tips for Making Perfect Chocolate-Covered Ice Cream Bars
Creating chocolate-covered ice cream bars at home can transform an ordinary dessert into an extraordinary experience. Just like the first time you discovered the bliss of biting into a frozen treat, these tips will ensure your bars are every bit as delightful.
Choose the Right Ice Cream
Selecting high-quality ice cream is crucial. A dense cream works best, as it won’t melt too quickly when you dip it in warm chocolate. Go for a flavor that excites you—think rich chocolate or refreshing mint!
Perfect Your Chocolate Coating
For that perfect chocolate shell, consider using chocolate specifically made for candy coating. It melts smoothly and hardens beautifully. To elevate your bars, mix in a touch of coconut oil for a glossy finish.
Time Your Dipping Right
Having your ice cream bars as cold as possible will make the dipping process seamless. After you freeze them, let them sit at room temperature for just a minute to soften the surface slightly—this helps the chocolate adhere better.
Adding Crunch
Want to take your chocolate-covered ice cream bars up a notch? Dip them in crushed nuts or sprinkles right after coating. This will add texture and a fun burst of flavor, making each bite a new experience.
Don’t Rush the Freeze
Once dipped, return your bars to the freezer immediately. This solidifies the chocolate quickly, ensuring your bars maintain their shape and that delightful crunch.
These simple, effective tips can help elevate your homemade chocolate-covered ice cream bars from good to sensational!
Time Breakdown for Chocolate-Covered Ice Cream Bars
When you decide to whip up chocolate-covered ice cream bars, knowing your time commitments can be a game-changer. Here’s how long you’ll be spending in the kitchen and freezer to create these delightful treats.
Preparation time
Getting everything ready takes about 20 minutes. This includes slicing your ice cream and preparing the chocolate coating, which is straightforward and fun!
Freezing time
After your bars are assembled, pop them in the freezer for at least 2 hours. This allows them to firm up and ensures the chocolate sticks perfectly.
Total time
All in all, you’re looking at approximately 2 hours and 20 minutes from start to finish. Just think of the smiles when you serve these delightful chocolate-covered ice cream bars!
Nutritional Facts for Chocolate-Covered Ice Cream Bars
Understanding the nutritional facts for chocolate-covered ice cream bars can help you enjoy this delightful treat guilt-free! These indulgent snacks balance taste and nutrition, allowing you to satisfy your sweet tooth while keeping an eye on your health.
Calories
A serving of chocolate-covered ice cream bars typically contains around 200-250 calories. This makes them a moderately indulgent dessert that you can enjoy without overloading on calories.
Sugar
These delicious bars often have about 15-20 grams of sugar per serving. While this sweetness brings joy, it’s great to savor them in moderation to maintain balanced sugar intake.
Fats
When it comes to fats, a chocolate-covered ice cream bar generally contains around 10-15 grams. Opting for options made with quality ingredients can help ensure you enjoy the creaminess without excessive saturated fat.
Balancing your calories, sugars, and fats allows you to relish this treat while making conscious choices!
FAQs about Chocolate-Covered Ice Cream Bars
Indulging in chocolate-covered ice cream bars is such a simple pleasure that can transport you back to childhood joy with every bite. These delectable treats can ignite conversations among friends or turn any hot day into a delightful experience. Here are some frequently asked questions to help you create the perfect dessert.
Can I use other types of ice cream?
Absolutely! One of the beauties of making chocolate-covered ice cream bars is the versatility in flavor. Whether you crave classic vanilla, rich chocolate, or even exotic flavors like matcha or salted caramel, the choice is yours. Just consider the texture—creamier ice creams often yield a smoother bite, while sorbets can add a refreshing twist.
How can I make the bars dairy-free?
Creating dairy-free chocolate-covered ice cream bars is easier than you think. Use non-dairy ice cream made from almond milk, coconut milk, or cashew milk for a creamy alternative. For the chocolate coating, opt for dairy-free chocolate chips or dark chocolate, checking the labels to ensure they align with your dietary preferences. This way, you can satisfy your sweet tooth while sticking to your lifestyle!
What’s the best way to store leftovers?
If you’re lucky enough to have any chocolate-covered ice cream bars left, storing them properly will keep them delicious! Wrap each bar tightly in plastic wrap or store them in an airtight container. Keep them in the freezer for up to two weeks. Just be careful not to let them sit out too long; nobody likes a melty, messy treat!
Conclusion on Chocolate-Covered Ice Cream Bars
Indulging in homemade chocolate-covered ice cream bars is like biting into summer bliss. These treats not only satisfy that sweet tooth but also let you explore your creativity in the kitchen. With simple ingredients and straightforward instructions, you can whip up a delightful batch to share with friends or savor alone. Whether you opt for classic chocolate or experiment with various toppings, each bite is a reminder of how joyous homemade treats can be. So next time you crave something sweet, grab your favorite ice cream and get started—the fun is just a scoop away!
Print
Homemade Chocolate-Covered Ice Cream Bars
- Total Time: 2 hours 45 minutes
- Yield: 8 bars 1x
- Diet: Vegetarian
Description
Delicious homemade chocolate-covered ice cream bars that are easy to make and perfect for any occasion.
Ingredients
Scale
- 2 cups vanilla ice cream (softened)
- 1 cup chocolate chips (dark or milk chocolate)
- 1/2 cup chopped nuts or mix-ins (optional)
- 2 tablespoons coconut oil or butter
- Sprinkles or toppings of your choice
Instructions
-
Prep the Ice Cream:
- Line a baking dish with parchment paper.
- Spread the softened vanilla ice cream evenly into the dish.
- Mix in any optional ingredients like chopped nuts.
- Smooth the top and freeze for about 1-2 hours until solid.
-
Cut the Bars:
- Once the ice cream is firm, lift it from the dish using the parchment paper.
- Cut the ice cream into bars of desired size.
- Place the bars back in the freezer to remain firm.
-
Prepare the Chocolate Coating:
- In a microwave-safe bowl, combine chocolate chips and coconut oil.
- Microwave in 30-second intervals, stirring in between, until fully melted and smooth.
- Allow the chocolate to cool slightly, but not too much to re-harden.
-
Coat the Ice Cream Bars:
- Remove the bars from the freezer.
- Dip each bar quickly into the melted chocolate, ensuring it is completely covered.
- Allow excess chocolate to drip off before placing it back on the parchment.
- Immediately sprinkle your desired toppings on top while the chocolate is still wet.
-
Final Freeze:
- Once all bars are coated, return them to the freezer.
- Freeze for an additional 30 minutes until the chocolate is fully set.
Notes
- Use Quality Chocolate: For a richer flavor, choose high-quality chocolate chips or bars.
- Coconut Oil Substitute: If allergic to coconut oil, butter can be used to achieve a smooth chocolate coating.
- Avoid Melting: Work quickly when dipping the bars to prevent melting the ice cream.
- Customization: Feel free to customize with your favorite ice cream flavors and toppings for a unique touch.
- Prep Time: 15 minutes
- Cook Time: 0 minutes
- Category: Dessert
- Method: No-Cook
- Cuisine: American
Nutrition
- Serving Size: 1 bar
- Calories: 220
- Sugar: 15g
- Sodium: 30mg
- Fat: 12g
- Saturated Fat: 7g
- Unsaturated Fat: 3g
- Trans Fat: 0g
- Carbohydrates: 26g
- Fiber: 1g
- Protein: 2g
- Cholesterol: 15mg